But if you haven’t spent a lot of time investigating the different features in the Camera app, then you might be wondering how you can go about adding those filters to your pictures. Our tutorial below will show you how to find and apply those filters and give you another dimension to your iPhone photography.
How to Use a Different Filter When Taking a Picture on an iPhone 7
The steps in this article were performed on an iPhone 7 Plus in iOS 10.3.3. The steps in this article will show you how to select a filter that will be applied to a picture when you take it with the iPhone’s default camera. This does not involve the use of any third-party apps. Step 1: Open the Camera app.
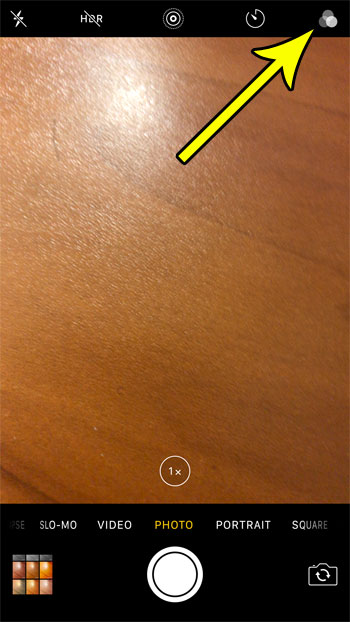
Step 2: Touch the filter button at the top-right corner of the screen.
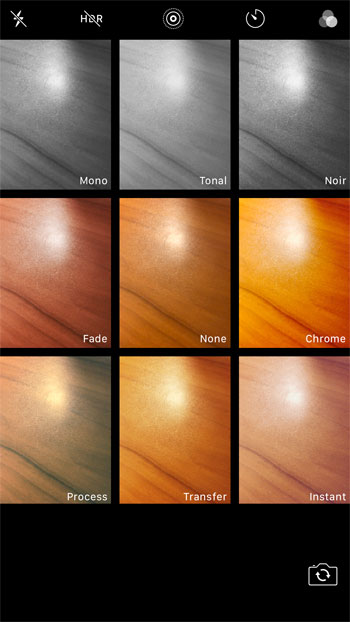
Step 3: Tap the filter that you want to apply to your picture as you take it. You can then press the shutter button at the bottom of the screen to capture the image with the applied filter.
Do you find that you are always using the same filter when you take pictures, and that it would be easier if that filter was just applied by default whenever you used the Camera app? Find out how to preserve filter settings on the iPhone Camera so that the filter that you used last is always applied when you take a picture. He specializes in writing content about iPhones, Android devices, Microsoft Office, and many other popular applications and devices. Read his full bio here.